
Last updated November 16, 2026
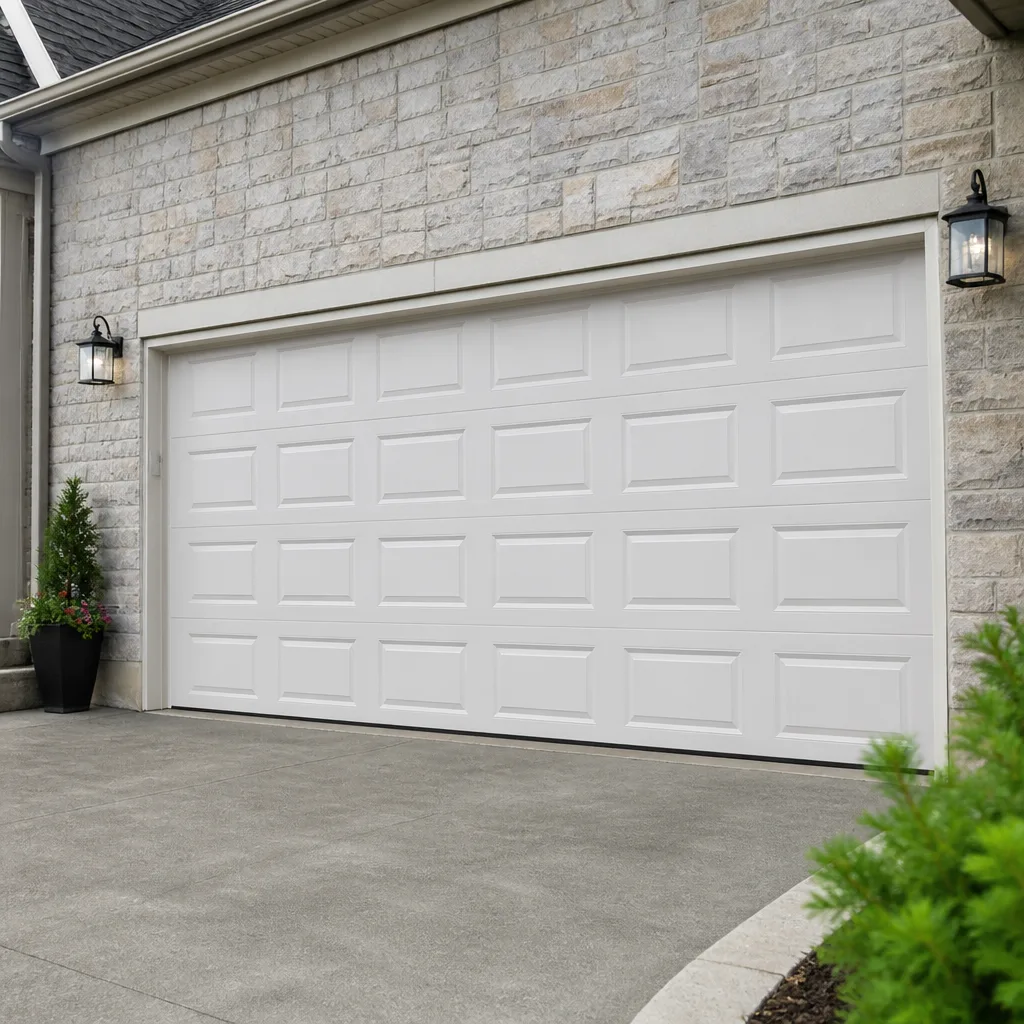 Raised-panel steel
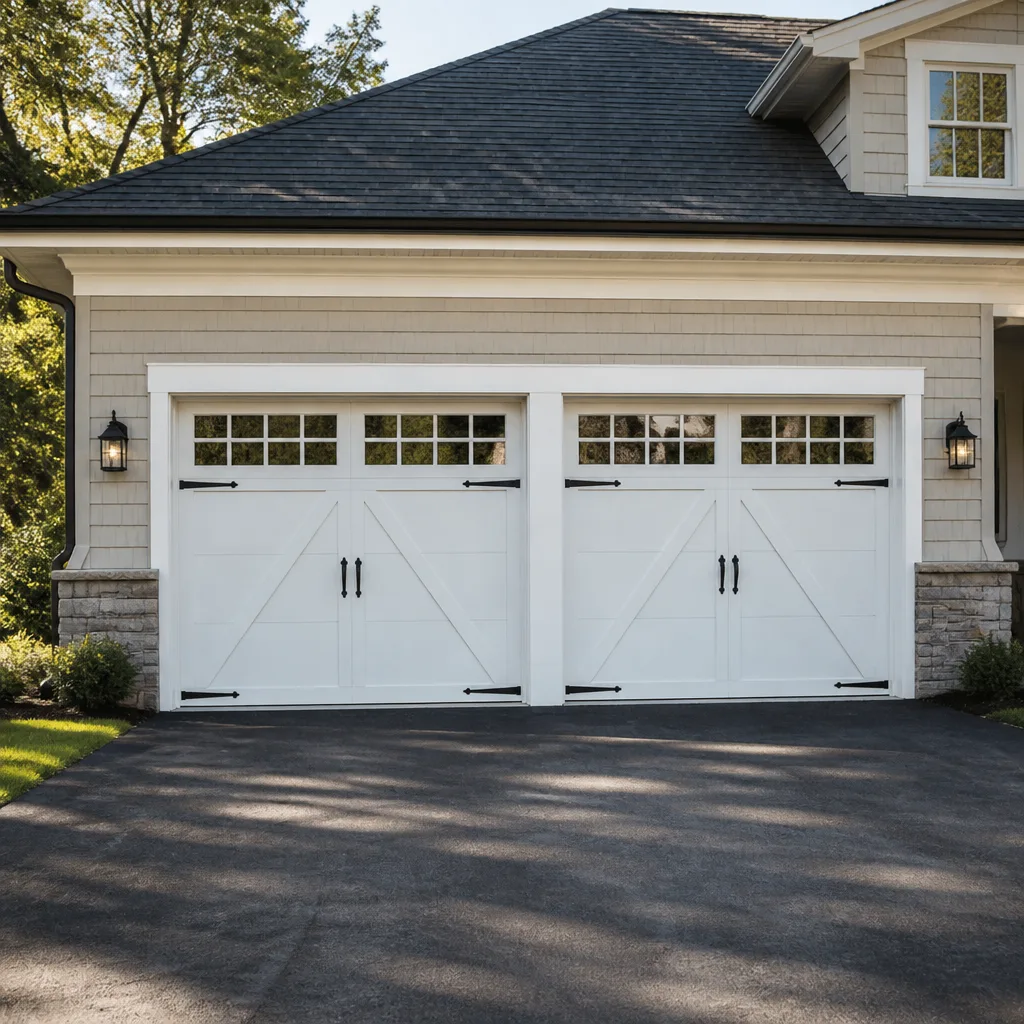 Carriage house
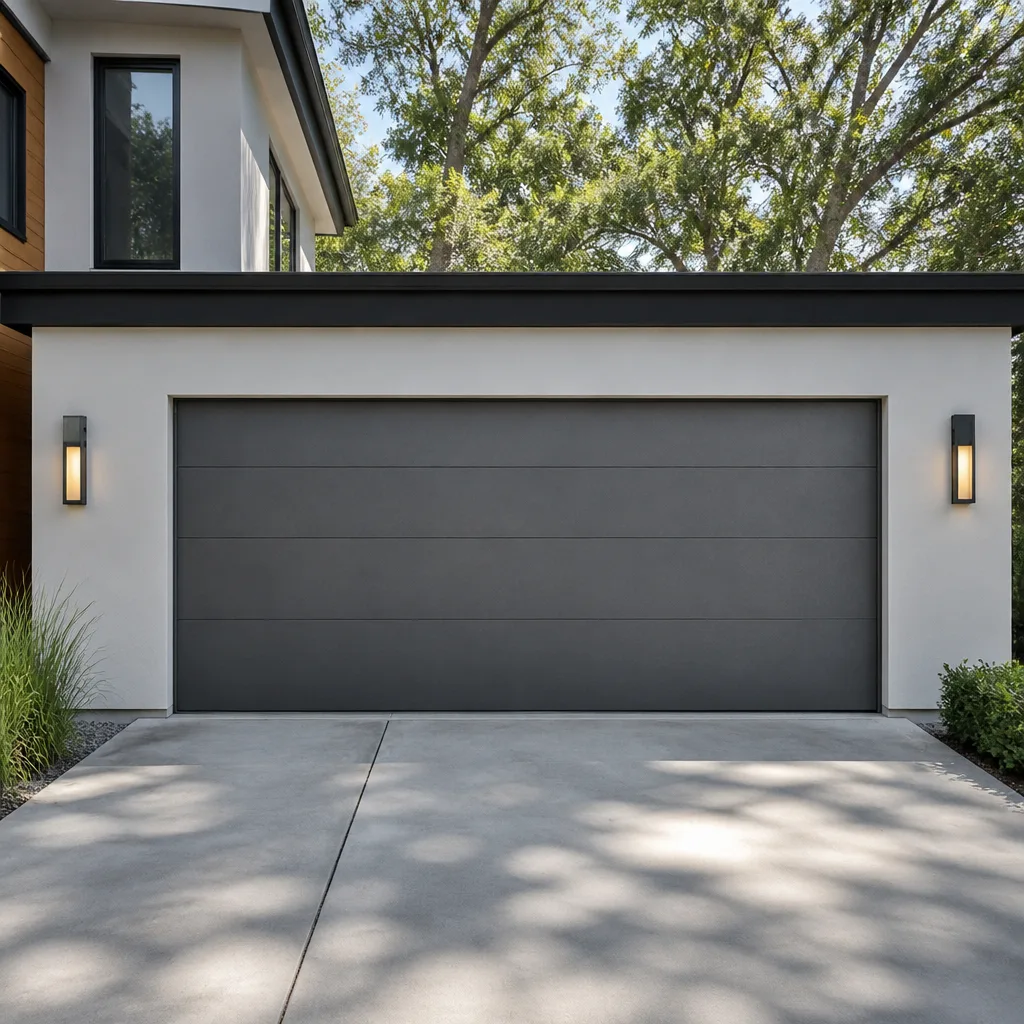 Modern flush
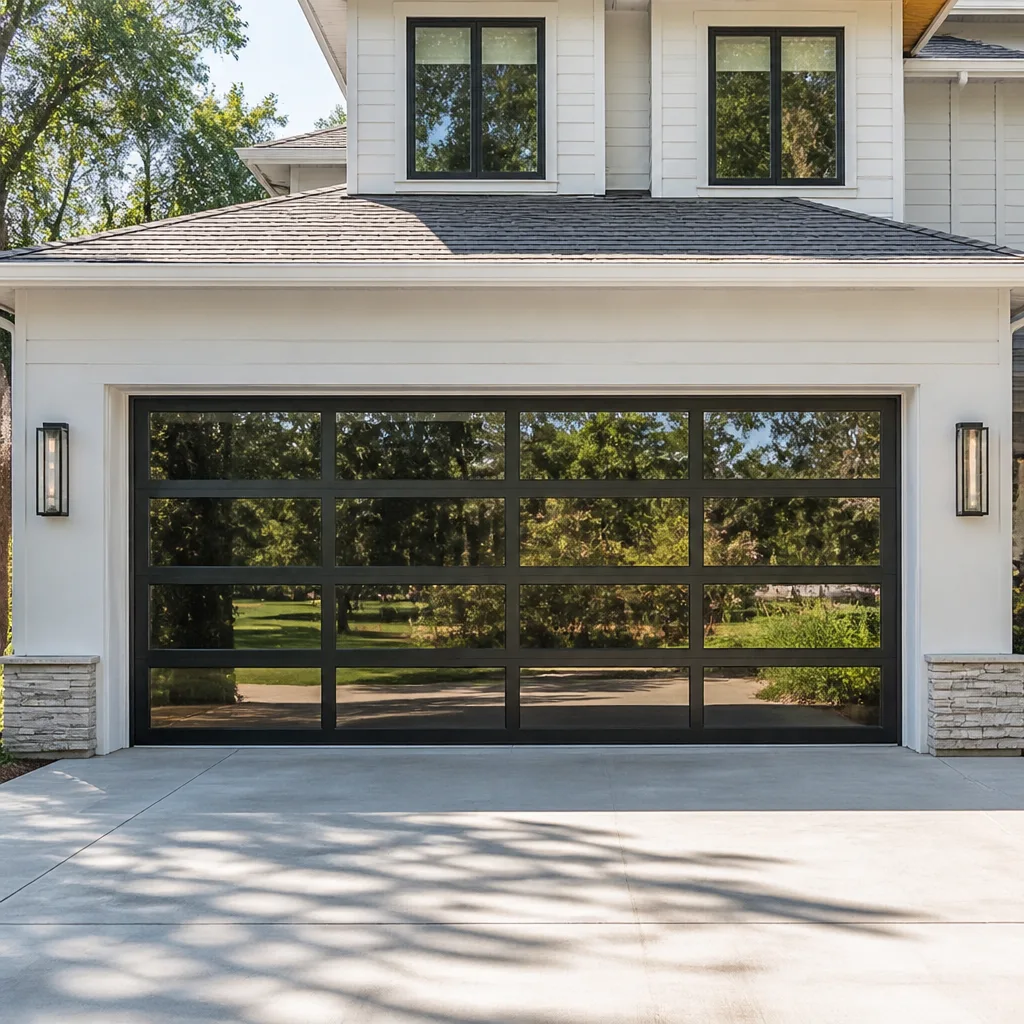 Full-view glass
 LiftMaster openers
 Chamberlain openers
Full 25-point door and opener safety check with every visit - springs, cables, rollers, tracks, and your LiftMaster or Chamberlain opener included
You get a price before we start. It does not change when the pro arrives.
Get your free estimateGarage Door Repair Maintenance Checklist for St. George Homeowners
Most garage door maintenance advice floating around online was written for a mild, damp climate, and following it in St. George can actually make your door wear faster. The number-one mistake we see here isn’t skipping lubrication. It’s applying the wrong lubricant in summer heat, where it thins out, drips onto the driveway, and leaves hinges and rollers drier than before anyone touched them. This guide replaces the generic checklist with one sequenced around the local calendar and the specific failure modes this desert climate produces: UV seal breakdown, sand abrasion, and stucco wall fatigue. You’ll learn what to inspect, when, and what to leave to a technician.
Quick Answer
A garage door in St. George needs a light monthly walk-around, a deeper seasonal inspection in late spring and early fall, and an annual professional service call. The highest-value tasks are checking the bottom seal for UV cracking and sand wear, using a heat-stable lubricant rated for desert temperatures, testing spring health by sound and balance rather than by touch, and keeping a dated service log. Anything involving springs, cables, or the torsion assembly should go to a trained technician, every time.
Styles & brands we work with
- Raised-panel steel
- Carriage house
- Modern flush
- Full-view glass
- LiftMaster openers
- Chamberlain openers
Table of Contents
- Why a St. George Maintenance Checklist Looks Different
- Choosing the Right Lubricant for Desert Heat
- Inspecting Bottom Seals and Weatherstripping for Sand Abrasion
- Checking Spring Health Without Touching the Spring
- Torsion Anchor Plates and Stucco Wall Fatigue
- Opener and Safety Sensor Checks
- The St. George Seasonal Maintenance Calendar
- Building a Printable Service Log for Your Home’s Records
Why a St. George Maintenance Checklist Looks Different
Garage doors fail in patterns set by the climate they live in. A door in a wet, coastal city fights rust and water infiltration. A door in St. George fights something else entirely: months of intense sun, dry air, fine windblown dust, and summer temperatures that push hardware beyond what most lubricants are designed to handle. A checklist written for one climate can quietly work against a door in another.
Here’s what that means in practice for St. George homeowners:
- Heat beats moisture. The rubber bottom seal and the vinyl weatherstripping around the frame dry out and crack long before water damage would ever be a concern. UV exposure is the main enemy.
- Dust and sand are abrasives. Wind-driven particles work their way into hinges, rollers, and tracks. Without routine cleaning, they act like sandpaper on moving parts.
- Stucco construction changes the wall forces. Much of the housing in St. George uses stucco over masonry or frame. That’s a strong finish, but the fasteners holding a torsion anchor plate transfer load differently than they would through wood siding, so the anchor deserves its own inspection. More on that below.
- Temperature swings are real. Desert days can be hot and nights cool. Metal expands and contracts daily, and springs cycle through temperature-driven tension changes that a stable coastal climate never delivers.
None of this makes a St. George garage door fragile. It just means the maintenance priorities are different, and monthly attention paid to the right parts beats yearly attention paid to the wrong ones. If you’d rather have a trained eye look at the whole system, our team handles garage door repair across the area, and a free estimate is the simplest way to know exactly what condition your door is in.
Choosing the Right Lubricant for Desert Heat
The wrong lubricant is worse than no lubricant in St. George. In June, July, and August, a thin oil or a spray that relies on a volatile carrier will evaporate or run off within days, leaving hinges, rollers, and the opener’s rail drier than they were before you started. Then it drips onto the garage floor and tracks the dust that blows in.
What holds up in the heat
Look for products whose base stays put when temperatures climb above 100°F. In general terms, that means:
- White lithium grease (in the correct application) – good for metal-to-metal contact points like hinges and the opener’s screw or chain rail, applied sparingly. It stays put in heat.
- A dedicated garage door lubricant – many manufacturers make a product specifically formulated for door hardware. These are designed to resist heat thinning.
- Silicone-based lubricant for rubber and plastic – seals, weatherstripping, and nylon rollers benefit from a silicone product, since petroleum-based greases can degrade rubber over time.
What to avoid
- WD-40 as a lubricant. It’s a penetrating oil and water displacer, not a long-term lubricant. It will quiet a squeak for a few days and then leave the part drier in the heat.
- Thin silicone sprays on metal parts. These evaporate faster in desert conditions and don’t carry enough body for hinges and rollers. They belong on rubber, not on load-bearing metal.
- Heavy grease on the tracks. Tracks should stay clean and dry. Grease in a dusty climate turns into a paste that traps grit and accelerates wear.
Apply lubricant once a month in the hot season and every other month the rest of the year. A light film is always enough. If you find yourself re-lubricating the same hinge every week, the hinge is worn, not under-lubricated, and it’s worth having someone look at it before it fails.
Inspecting Bottom Seals and Weatherstripping for Sand Abrasion
The bottom seal gets more punishment in St. George than almost any other part of the door, because it faces sun, heat, and windblown sand at the exact point where the door meets the concrete. Most maintenance advice treats the seal as a moisture barrier. Here it’s an abrasion and UV barrier, and it needs a different inspection sequence.
Run this check once a month on your hands and knees. It takes five minutes and catches failures early:
- Look at the seal edge. Cracking at the outer edge is the first sign of UV breakdown. Fine surface cracks are cosmetic; deep cracks that reach the door are not.
- Check for sand pitting. Run your hand along the underside of the seal. A rough, pitted texture means grit has been trapped and grinding against the rubber. That’s a seal on its way out.
- Look at the concrete threshold. A visible groove worn into the concrete where the seal sits means the seal has stiffened and is scraping rather than flexing. That’s both a seal problem and a gap that lets heat, dust, and pests in.
- Check the frame weatherstripping independently. Don’t just check the bottom. The strips along the sides and top dry out too, and gaps at the top edge are the one homeowners miss most.
- Test for daylight. Close the door and look for light showing under the bottom seal or along the frame. A visible sliver of daylight means the seal needs adjustment or replacement.
Replace the seal when it’s cracked, pitted, or stiff. This is a genuine DIY job for most homeowners – a new bottom seal is inexpensive and slides into the retainer. Frame weatherstripping is similar. If the gap stays after you’ve replaced the seal, though, you have a door balance issue, which we’ll get to next. Our Rosemont Garage Door Service specialists can check both, and if the door needs realignment we’ll tell you directly rather than upselling a replacement.
Checking Spring Health Without Touching the Spring
Garage door springs are under enormous stored tension, and the systems that hold them (springs, cables, and the parts that anchor them) are genuinely dangerous to work on. We do not publish DIY instructions for adjusting or repairing them because the risk of serious injury is real. What we do encourage is a safe, hands-off inspection that tells you when to stop and call someone.
Two tests, both safe if you never touch the spring or the cable:
The sound test
Open and close the door a few times and listen. A healthy door makes a steady, even hum or whir from the opener. A door announcing a failing spring often makes a sharp snap, a grinding note, or a creaking that gets louder each time. If a torsion spring has snapped, you may hear a loud bang from inside the garage that sounds like a gunshot or a dropped weight. If that happens, stop operating the door immediately.
The balance test
With the door closed, disengage the opener (the manual release cord does this on nearly every opener) and lift the door by hand, not with the opener. Then lower it halfway and let go. A healthy door holds its position. A door that sags or drops means a spring has lost tension or the cable is in trouble. Either way, the next step is a technician, not a wrench.
What to look at, not touch
- Visible gaps in a torsion spring coil – a clean break in the coil is easy to spot and requires same-day attention.
- Discolored or stretched springs – shows overwork and heat stress.
- Frayed or kinked cables – never adjust these yourself; a slipping cable can whip with lethal force.
If the door won’t lift smoothly or the balance test fails, call (866) 389-3687. We answer 24/7. Fast dispatch from 7am to 7pm, Sunday through Friday, and a technician can diagnose spring condition and quote the fix before anyone touches the door. For more detail on the difference between a worn spring and a failing one, see our full guide to garage door repair.
Torsion Anchor Plates and Stucco Wall Fatigue
This is the check almost every generic checklist misses, and it matters specifically in St. George. A torsion-spring door hangs its entire spring load on an anchor plate mounted to the wall above the door and the shaft on which the springs sit. That plate is fastened through whatever your garage’s header wall is made of. In homes with stucco over masonry or over framed sheathing, the fasteners load the wall differently than they would in wood siding, and it’s worth having that anchor inspected rather than assumed.
Here’s what a trained eye checks and what you can safely observe:
- Visible gaps between the anchor plate and the wall. A plate that used to sit flush and now shows a gap is moving. That’s a signal to stop using the door.
- Rust streaks or powdery residue around the mounting bolts. Often the first sign that fasteners are loosening and letting moisture in.
- Stucco cracking that radiates from the plate corners. Hairline stucco cracks can be harmless, but cracks starting at the plate and growing outward deserve a look.
- Odd creaking or popping from overhead when the door cycles. This can be a worn bearing plate or a loosening mount, and it should be diagnosed, not greased over.
Why does this matter so much here? Because rock-solid wall materials can mask a loosening anchor right up until something shifts suddenly. In stucco and masonry construction, a technician will check that the plate is bolted into solid material, not just into a stucco skin. A torque check and a fastener inspection take minutes as part of a service visit and cost far less than repairing a failed anchor. If you notice any of the signs above, call our St. George team and have it checked before you use the door again.
Opener and Safety Sensor Checks
Your opener is a separate machine from your door, and it needs its own maintenance. Most opener “failures” we see aren’t full failures at all – they’re a remote that needs re-pairing, a logic board that needs a reset, or a safety sensor knocked out of alignment by a broom handle. Treating opener repair as its own discipline keeps you from replacing an opener that just needs a small fix. The house brands matter here too: a LiftMaster, Chamberlain, Genie, or Craftsman unit has its own reset procedure and travel-limit calibration, and matching the right procedure to the right brand prevents repeat trips.
Run this opener check twice a year, plus whenever the door misbehaves:
- Test the safety sensors. Close the door and pass an object through the beam. The door should reverse immediately. If it doesn’t, the sensors are misaligned, dirty, or the wiring is loose. Clean the lenses and re-align them first; that solves most sensor problems.
- Test the force sensitivity. Place a small obstacle (a piece of wood or a full paint can) in the door’s path. The door should reverse on contact. A door that pushes through needs its force settings checked by a technician.
- Check the auto-reverse limit. Most openers have a setting that reverses the door if it hits something on the way down. This is also adjustable and worth testing twice a year.
- Lubricate the rail. A chain or screw-drive rail benefits from a light application of the correct grease. A belt drive should stay dry. Check your opener’s manual before applying anything.
- Test every remote and keypad. A remote that’s failing at increasing range is usually a battery, not an opener. Replace remote batteries annually.
If the door still reverses erratically, won’t close, or the opener runs but the door doesn’t move, the issue is inside the unit. Our team handles dedicated garage door opener repair, from motor and logic board diagnosis to travel-limit calibration on the brands already installed in most St. George homes. Repairing the opener beats replacing it whenever the parts are available, and a free estimate tells you which is actually warranted.
The St. George Seasonal Maintenance Calendar
The seasonal rhythm matters more than the task list. Here’s the maintenance schedule we recommend for a St. George garage door, sequenced around when this climate puts the most stress on each part:
Monthly (year-round, 10 minutes)
- Listen to the door on open and close. Note any new sounds.
- Look for daylight under the bottom seal and around the frame.
- Wipe the tracks clean with a damp cloth. Don’t grease them.
- Check the safety sensors with a quick obstruction test.
Late spring (before the hot season, 30 minutes)
- Apply a heat-stable lubricant to hinges, rollers, and the opener rail.
- Inspect the bottom seal and frame weatherstripping for UV cracks and sand pitting. Replace what’s failing.
- Run the balance test with the opener disengaged.
- Look at the torsion anchor plate for gaps, rust streaks, or stucco cracks.
Early fall (after the hottest months, 30 minutes)
- Repeat the lubricant application – summer is the stress season, so fall is the reset.
- Inspect the bottom seal again. Sun damage shows up fastest after summer.
- Check the opener’s force settings and travel limits.
- Replace remote and keypad batteries.
- Test every safety feature before the cooler months arrive.
Annually (professional service, 60 to 90 minutes)
- Full spring, cable, and anchor inspection by a technician.
- Roller and hinge wear assessment.
- Door balance and alignment check.
- Opener motor, logic board, and travel-limit calibration.
- Weatherstripping and seal replacement as needed.
Twice a year is fine for most St. George homes. If you have a door that’s over ten years old or one that gets heavy daily use on a household with multiple drivers, consider a professional service call every year to catch spring and anchor wear. Either way, the calendar is only as good as the record you keep.
Building a Printable Service Log for Your Home’s Records
A service log does two things: it tells the next technician exactly what’s been done to the door, and it gives a buyer hard evidence of maintenance when you sell the house. A door with a documented service history is easier to sell and less likely to trigger a repair credit at inspection. A door with no record makes the buyer wonder what’s overdue.
Here’s a simple printable format. Copy it onto a sheet or save it as a spreadsheet:
- Date
- Task performed (lubrication, seal replacement, balance test, opener calibration, professional service)
- Component (spring, cable, anchor plate, bottom seal, frame weatherstripping, opener rail, sensors, hinges, rollers)
- Result or observation (e.g., “left torsion spring replaced,” “bottom seal pitted and replaced”)
- Technician or do-it-yourself
- Next action needed and when
Keep it in a plastic sleeve on the wall of the garage, or in the drawer by the door. Update it every time you do anything, even a five-minute seal inspection. Photograph the dated log and keep the photo in your home file with the rest of the documentation. When buyers ask, you’ll have a record that reads more convincingly than any verbal claim. And if you’ve had work done by our team, the log entry is a useful reference for the next service call.
Common Mistakes to Avoid
- Using WD-40 as a lubricant on hinges. It quiets the noise for a few days and leaves the part drier in desert heat. A heat-stable grease is the right answer.
- Greasing the tracks. In a dusty climate, grease turns the tracks into a grit magnet. Tracks should be wiped clean and left dry.
- Ignoring the bottom seal until it’s cracked through. UV damage in St. George is relentless, and a seal that’s pitted lets in dust, heat, and pests. Check it monthly, not yearly.
- Trying to adjust a torsion spring or cable yourself. These parts are under intense stored force, and the injury risk is serious. Springs and cables are technician territory, always.
- Skipping the anchor plate inspection on a stucco home. The plate that holds the spring is mounted through walls that can mask loosening. Have it looked at.
- Treating opener problems as full replacement jobs. Most opener issues are a sensor, a remote, or a logic board reset. Diagnose before you replace.
- Replacing the door when the opener is the problem. If the door itself is sound but won’t move, the issue is likely in the opener or the balance, not the door. Get a diagnosis first.
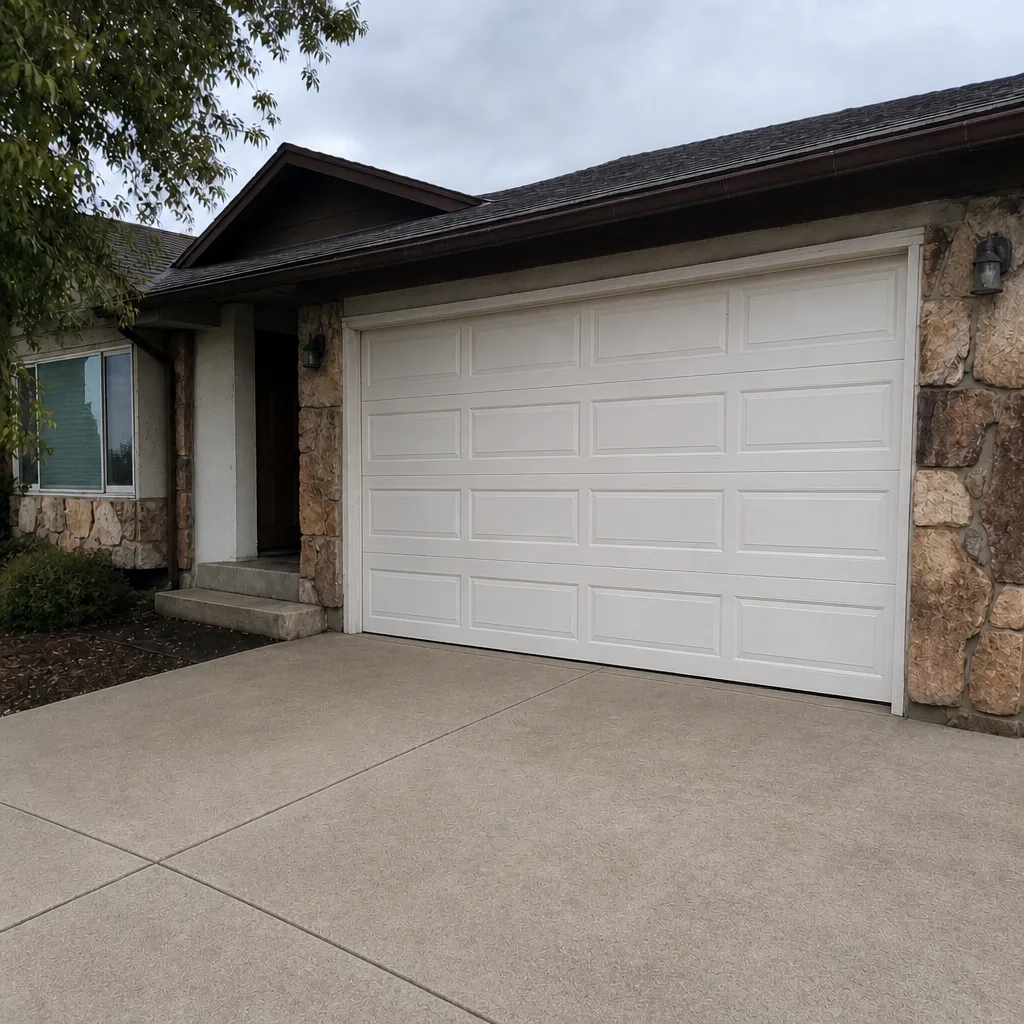
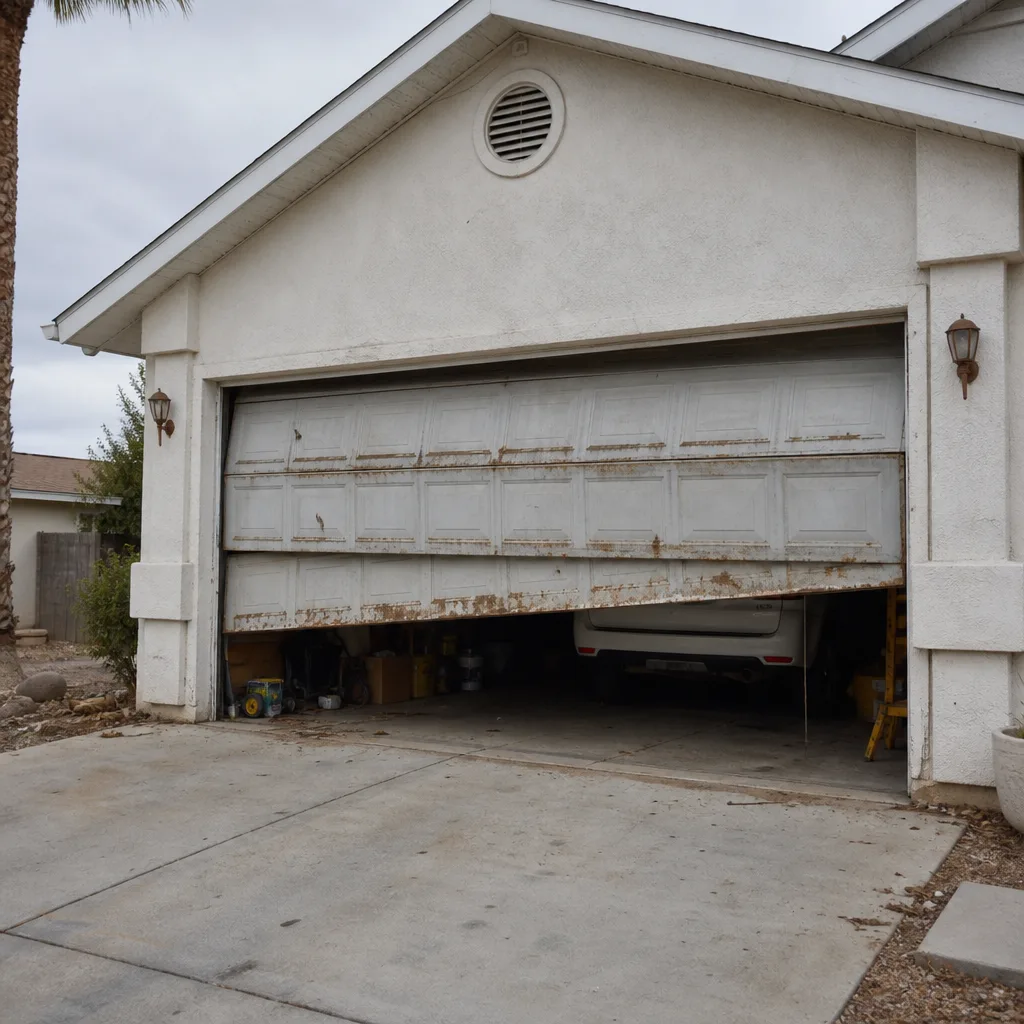
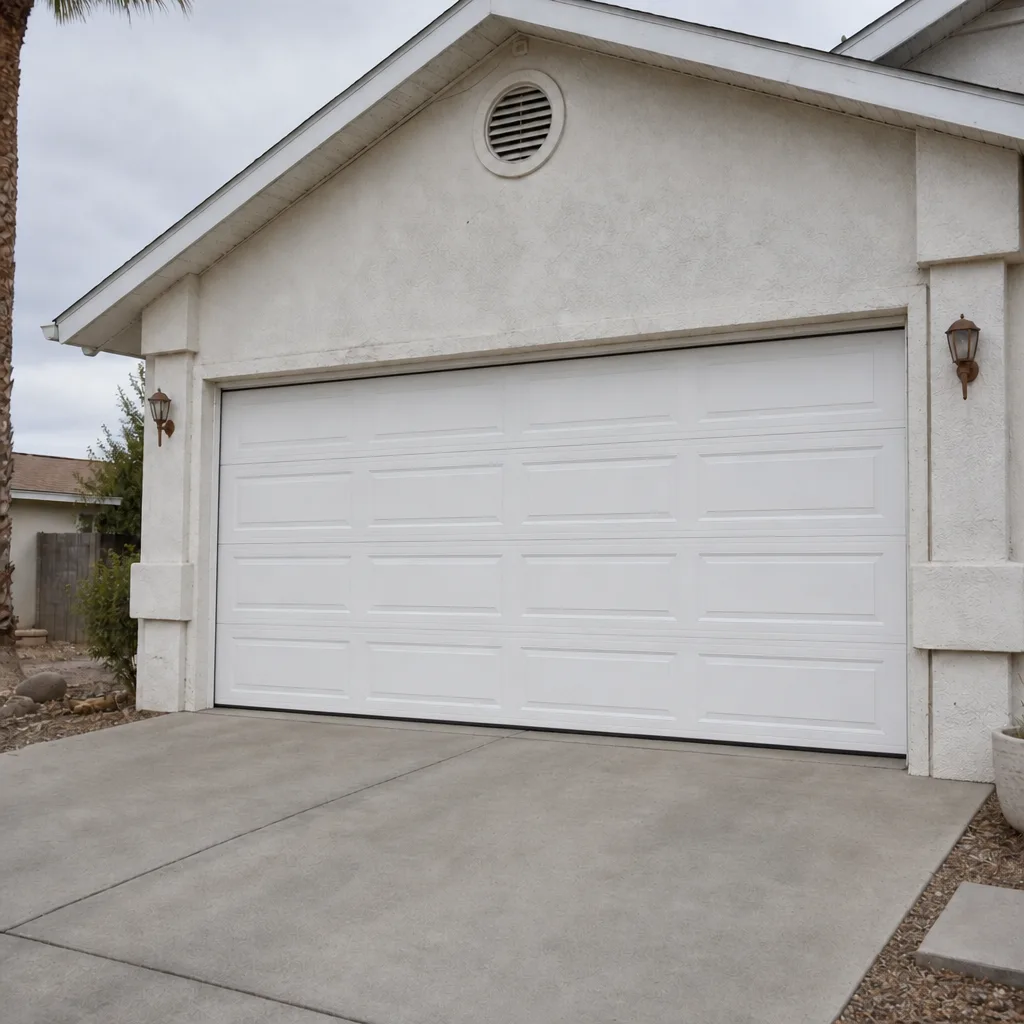
See the difference
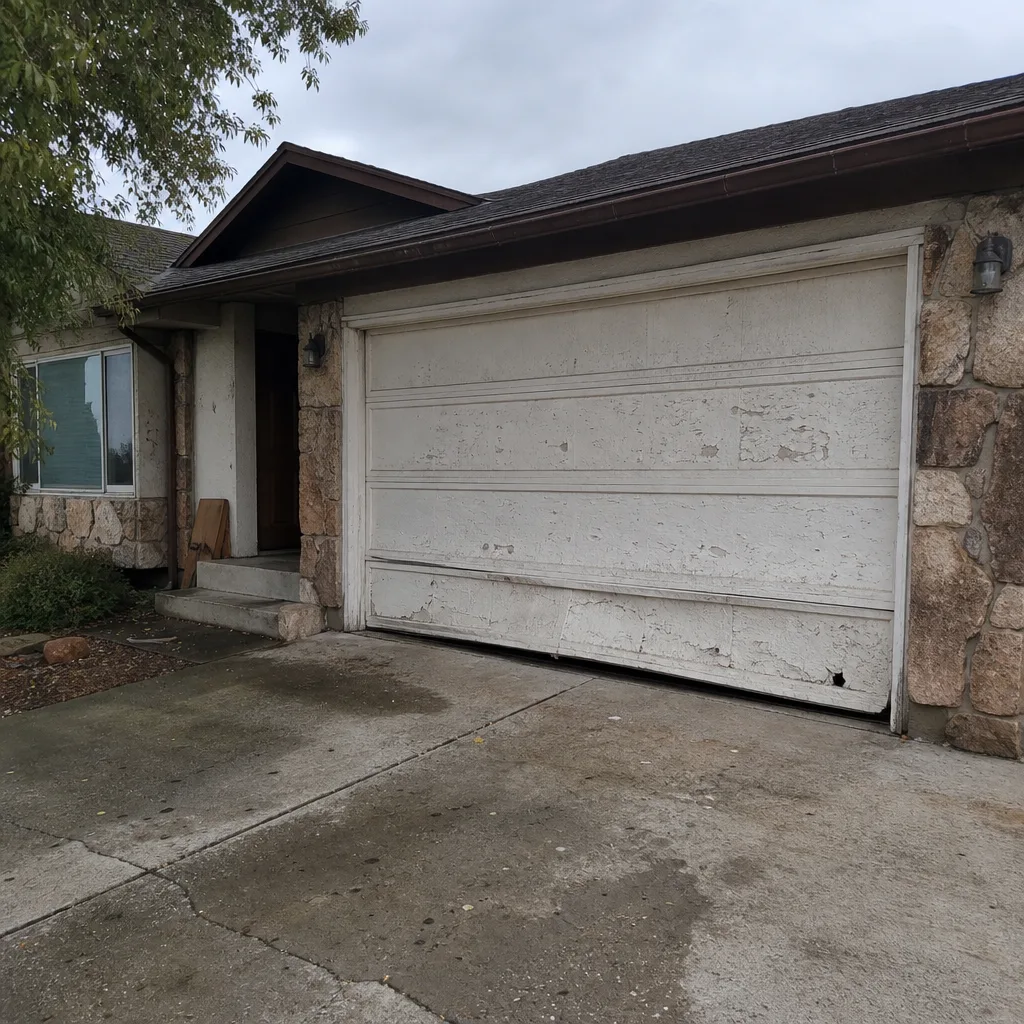 Before
 After
 Before
 After
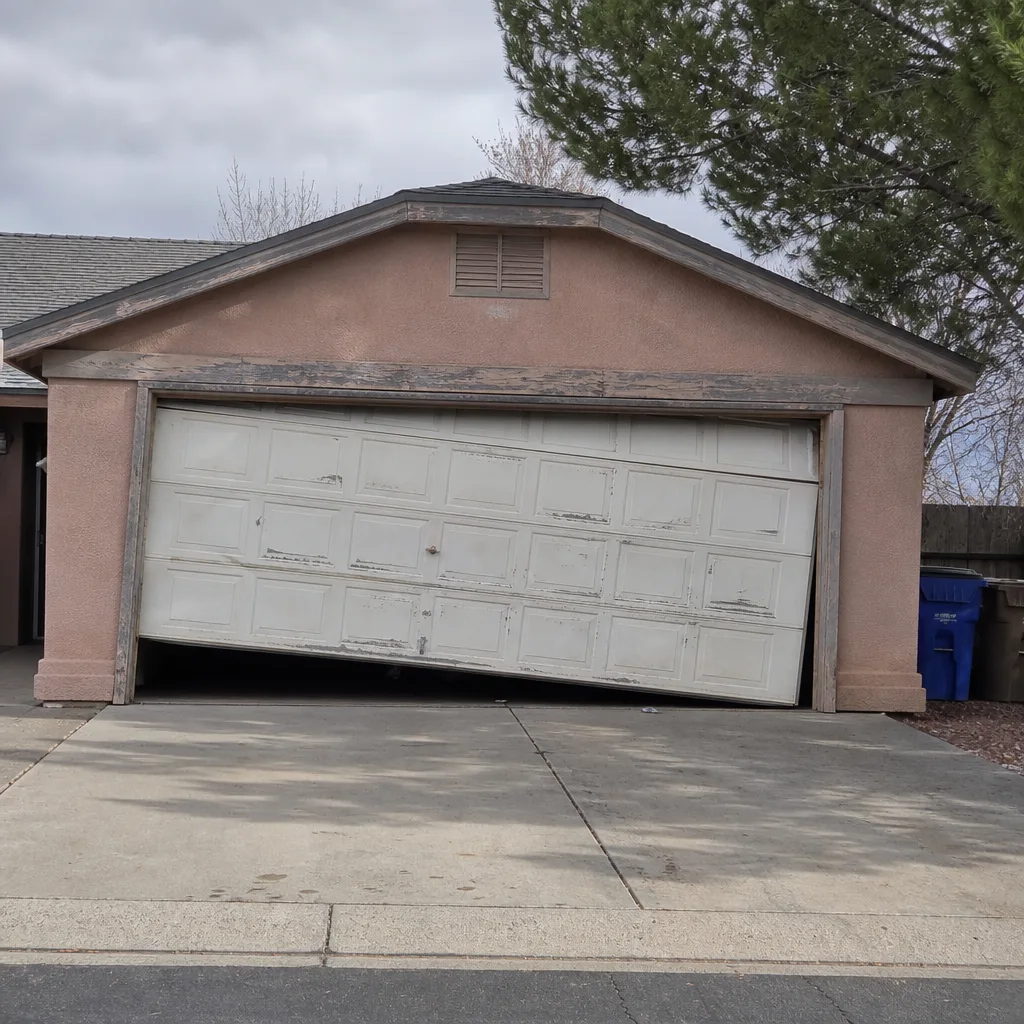 Before
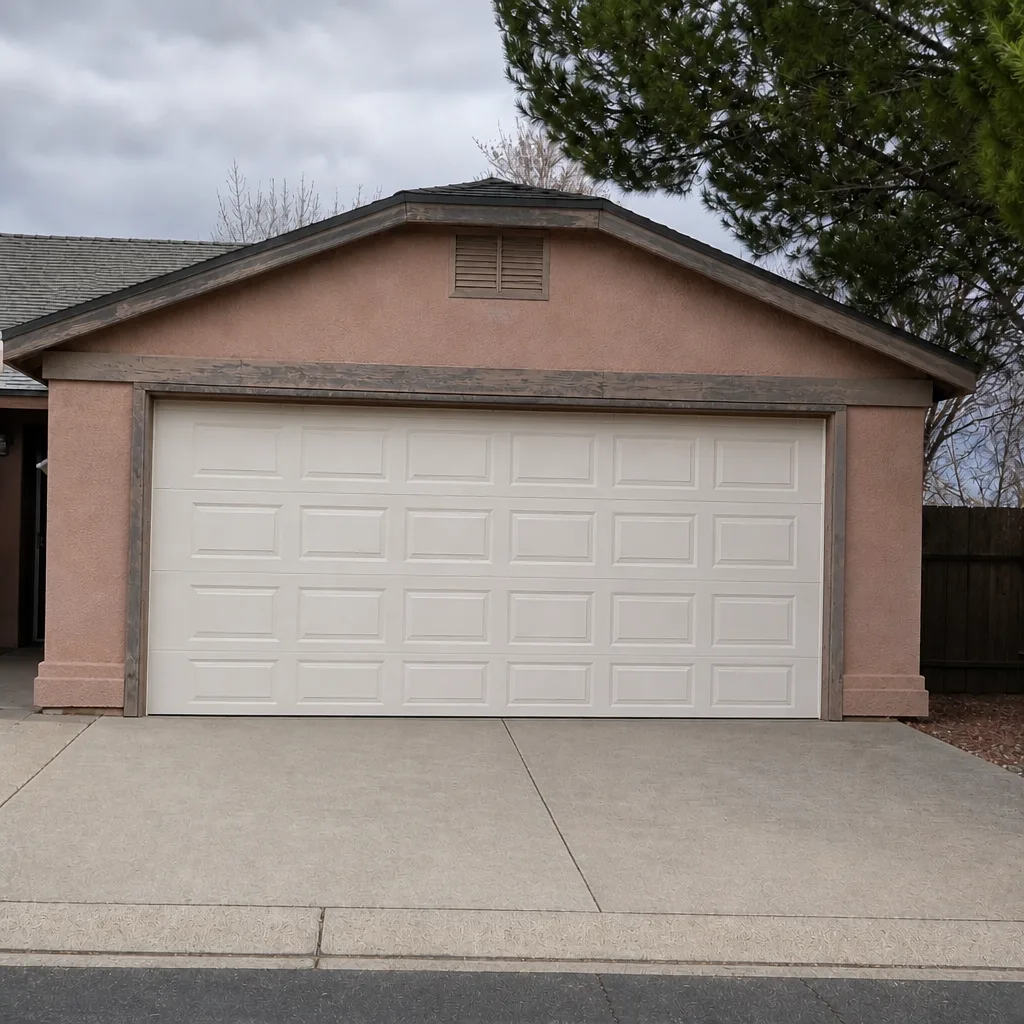 After
When to Call a Professional
Most of this checklist is safe for a homeowner to run: seals, tracks, sensors, and sound checks. The moment the task involves a spring, a cable, the torsion anchor plate, or anything under tension, it goes to a trained technician. Springs and cables can fail violently without warning, and the injury risk from a snapped spring or a slipping cable is severe. If the door won’t balance, if you’ve heard a bang from the garage, or if the anchor plate shows a gap or stucco cracking, stop operating the door and call.
The same is true for openers that run inconsistently or doors that bind. A trained technician can diagnose a travel-limit problem in minutes instead of replacing a working unit. Rosemont Garage Door Service offers free estimates in St. George – call (866) 389-3687. We answer 24/7. Fast dispatch from 7am to 7pm, Sunday through Friday. Our technicians have up to 13 years of experience, and while we work on most major brands already installed in your home, we won’t recommend a fix that doesn’t match what the door actually needs.
Frequently Asked Questions
Using the right lubricant for desert heat, closely followed by checking the bottom seal for UV cracking and sand abrasion. A heat-stable grease on hinges and rollers beats any amount of generic spray in summer conditions, and a pitted bottom seal lets in dust, heat, and pests long before anyone notices. Both tasks take under ten minutes and prevent the biggest drift toward early failure.
Once a year for most homes, and twice a year for doors over ten years old or under heavy daily use. Professional service covers what a homeowner can’t safely inspect: spring tension and condition, cable wear, and the torsion anchor plate. Call (866) 389-3687 for a free estimate and we’ll tell you the service interval that fits your door.
You can and should lubricate hinges, rollers, and the opener rail yourself. That’s the most valuable DIY task in this guide. What you shouldn’t do is touch the springs, cables, or anchor plate, all of which are under force. A homeowner with a spray can of heat-stable grease is doing the right thing; a homeowner with a wrench near a torsion spring is not.
No. The written estimate is the price, and it’s quoted and agreed before any work starts. If a technician finds something during the visit, it goes on the estimate as a separate line item and you decide whether to proceed. Call (866) 389-3687 for a free estimate – there’s no service-call fee to find out what’s wrong.
First, check the basics: is the opener plugged in, is the manual release engaged, are the safety sensors clean and aligned? If those check out and the door still won’t move, the issue is likely the spring, a cable, or the opener motor. Don’t force the door. Call (866) 389-3687 – we’ll dispatch a technician and quote the repair before anyone touches the door.
The independent local professionals we connect you with are licensed and insured, and each job is quoted in writing before work begins. Our technicians have up to 13 years of experience on the brands most often installed in St. George, including LiftMaster, Chamberlain, and Wayne Dalton. Call (866) 389-3687 for a free estimate and an honest read on whether your door needs repair or replacement.
The Bottom Line
Maintenance in St. George is about heat, sand, and sun, not moisture. Use a heat-stable lubricant, inspect your bottom seal and weatherstripping monthly, run the sound and balance tests whenever the door sounds different, and have the torsion anchor plate checked on a stucco home. Keep a dated service log so the door’s history is on paper. The right combination of monthly DIY checks and an annual professional visit will get you more years out of the door than any single repair ever could, and it turns a rattling annoyance into a system you know the condition of.
Are you unsure where your door stands? Call (866) 389-3687 for a free estimate. We answer 24/7. Fast dispatch from 7am to 7pm, Sunday through Friday. Our technicians can tell you exactly what needs to happen next, and we’ll repair before we ever recommend replacing. That’s the only call this checklist is here to support.
Written by the team at Rosemont Garage Door Service.